


Clock Making Accessories

Opaque Resin Pigments for Resin Art & Crafts

Free Gift with Resin Raw Material

UV Resin

2:1 Resin

Clock Hands

MACHINES AND OTHERS

Clock Movements and Machines

UV DTF Stickers for Resin

Stands

Alcohol Ink for resin art

Mica Powder Color Sets for Resin Art

Resin Applications

3:1 Resin

Acrylic Clock Numbers and Rings
New Arrivals

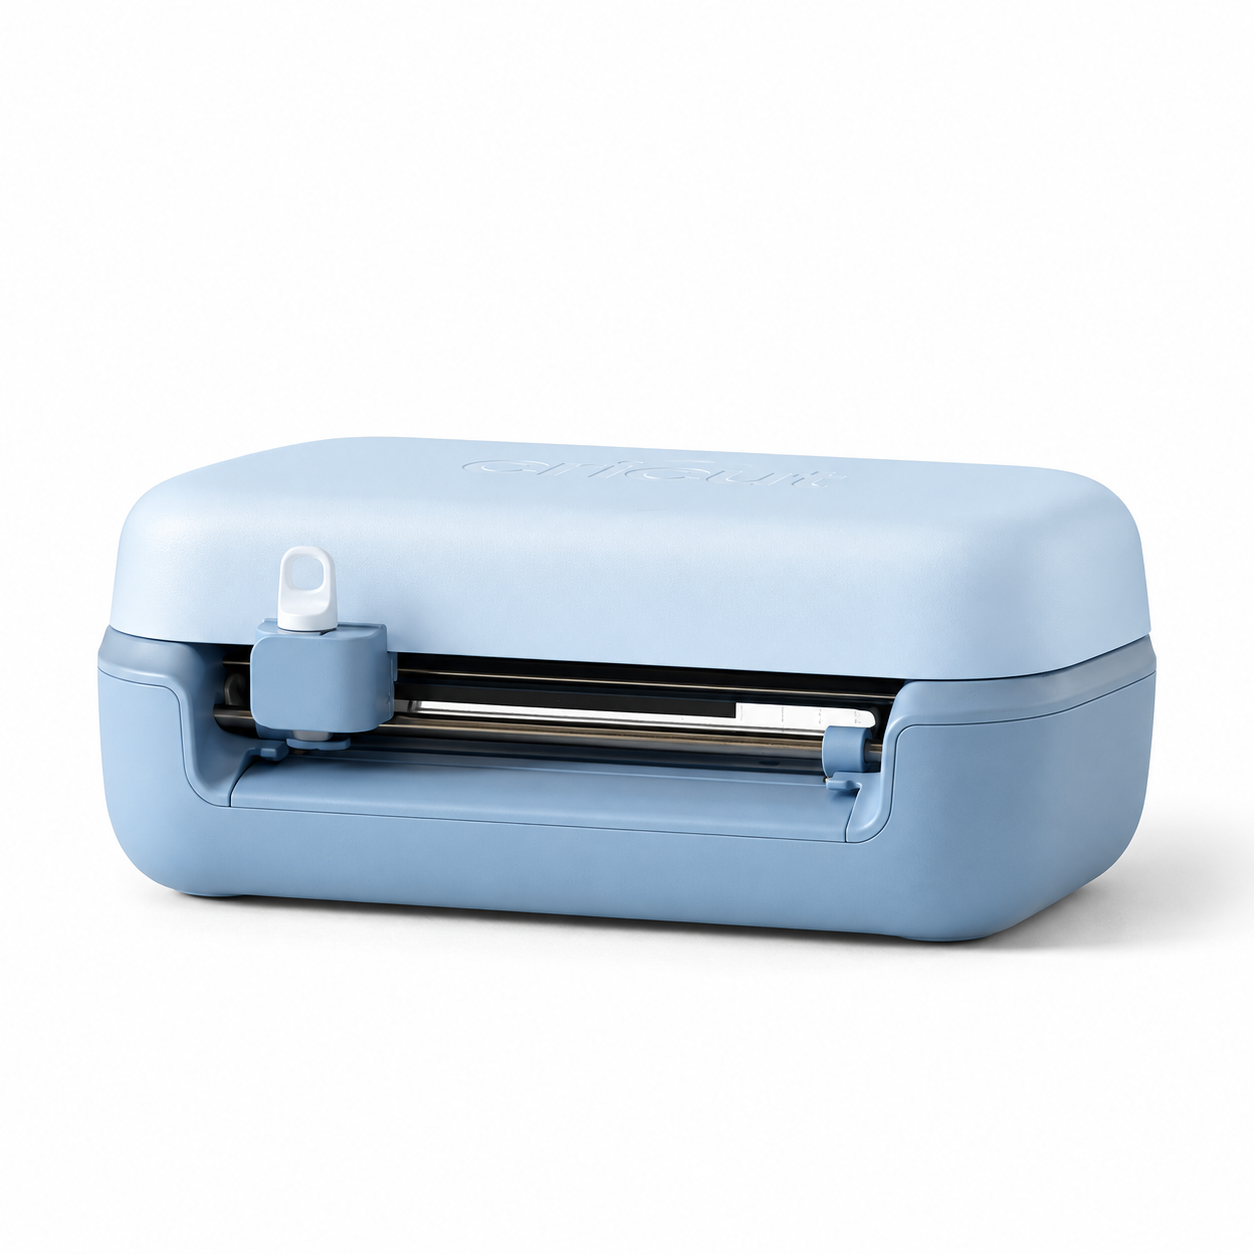
Cricut Joy 2 Smart Cutting Machine – Blue
| Quantity | Price |
|---|---|
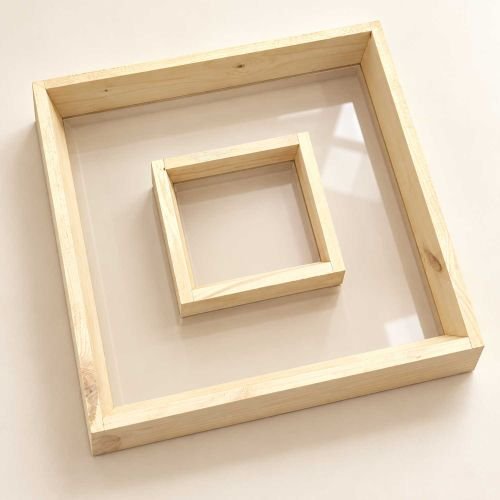
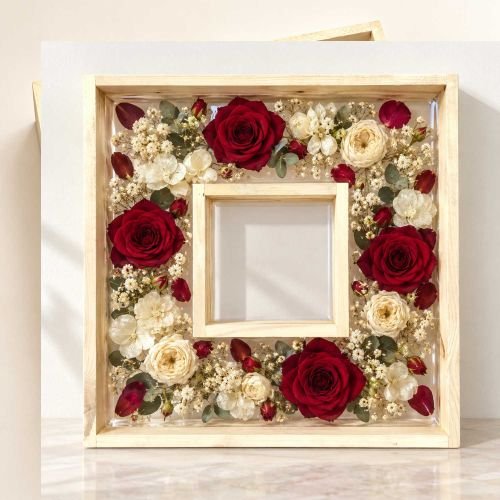
Wedding Varmala Preservation 2 Part Wooden Frame For Resin
| Quantity | Price |
|---|---|


Wedding Varmala Preservation 3 Part Wooden Rectangle Frame With Acrylic Base For Resin
| Quantity | Price |
|---|---|

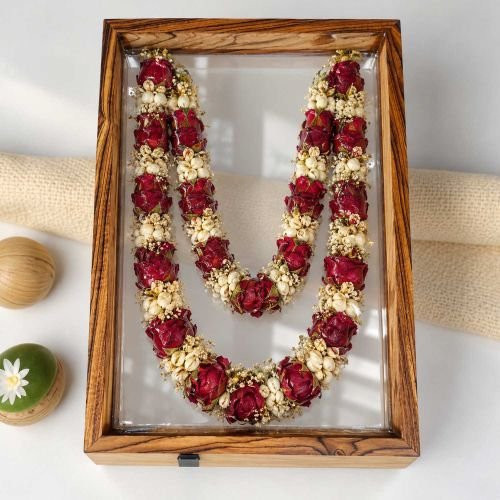
Wedding Varmala Preservation Wooden Rectangle Frame With Acrylic Base For Resin
| Quantity | Price |
|---|---|
Weekly Featured Products

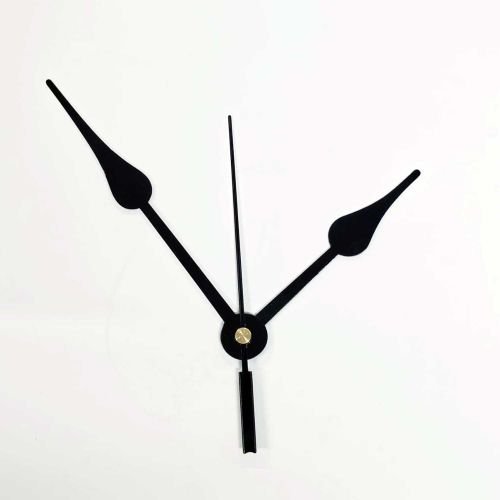
Resin Wall Clock Hands
| Quantity | Price |
|---|---|
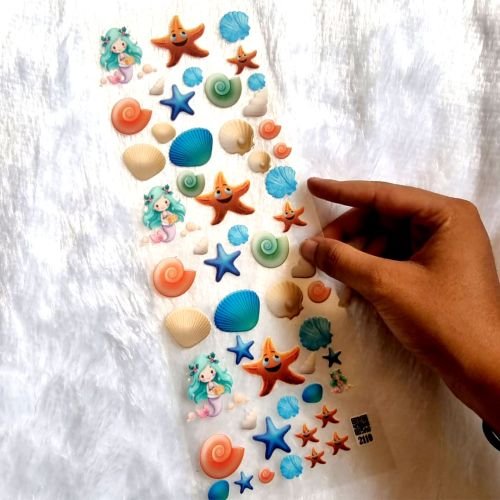
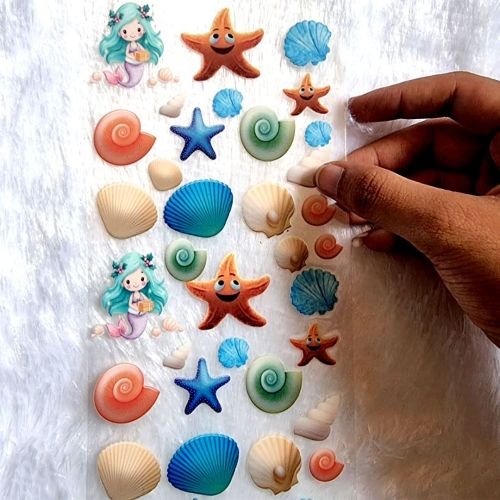
Seashell & Starfish Assorted Designs UV DTF Transparent Sticker Sheet
| Quantity | Price |
|---|---|
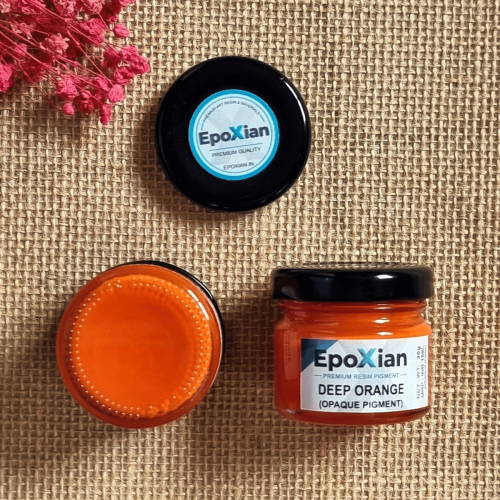
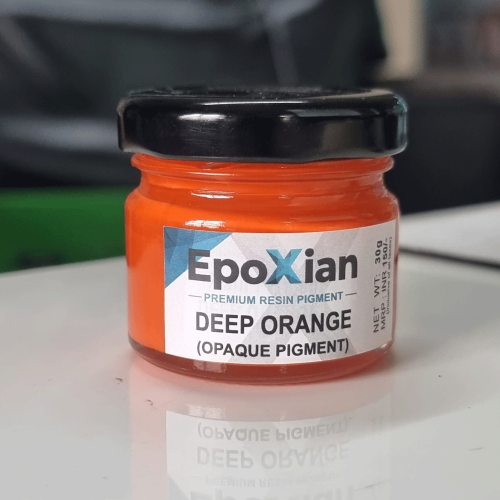
Deep Orange Opaque Resin Pigment Paste
| Quantity | Price |
|---|---|
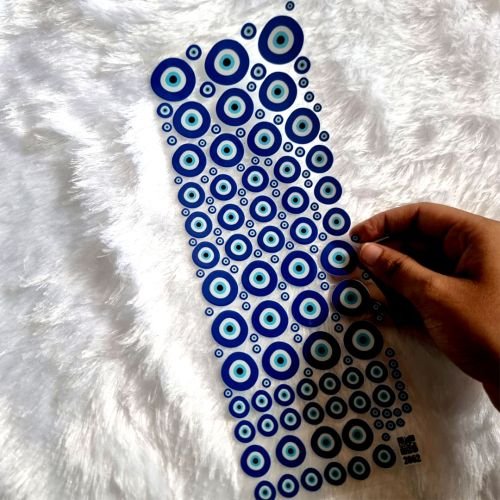
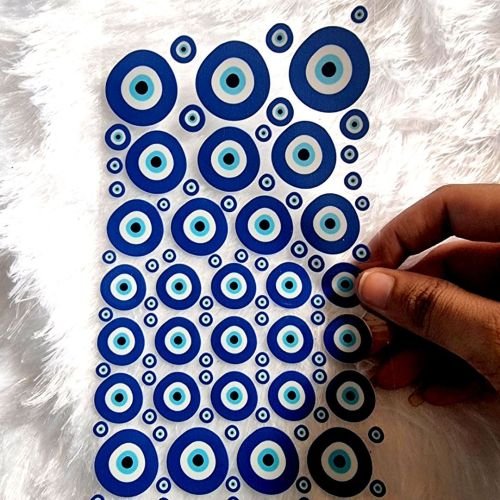
Blue Evil Eye Decorative UV DTF Sticker Pack
| Quantity | Price |
|---|---|
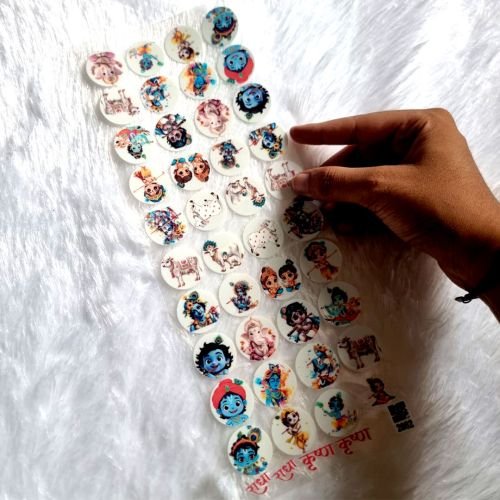
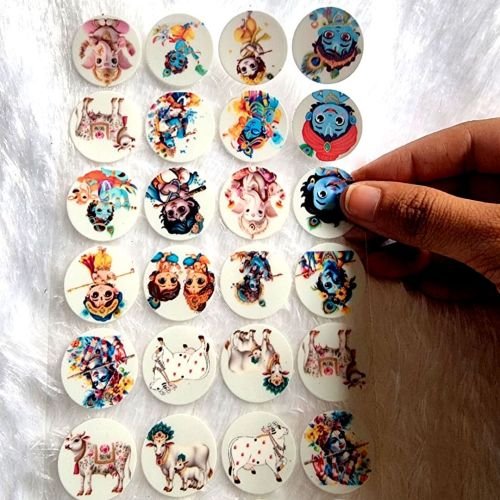
Baal Krishna, Ganesha, And Radha Circular UV DTF Sticker Sheet
| Quantity | Price |
|---|---|

ARABIC EMBOSSED STICKER SHEET A/4 (TR891)
| Quantity | Price |
|---|---|


Krishnaya Vasudevaya Haraye Paramatmane Mantra UV DTF Sticker Sheet
| Quantity | Price |
|---|---|

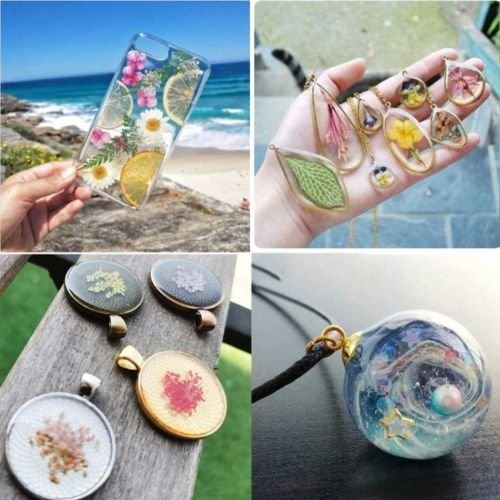
UV Resin 25g
| Quantity | Price |
|---|---|
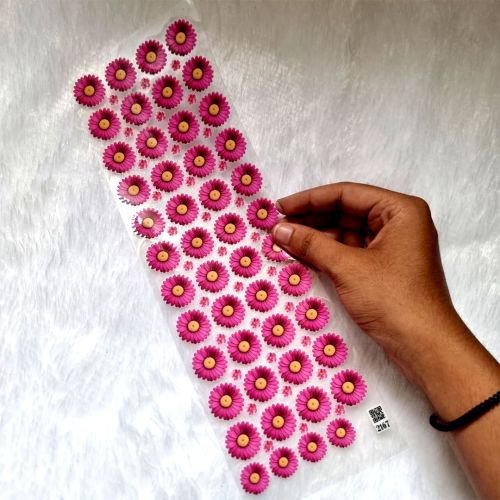
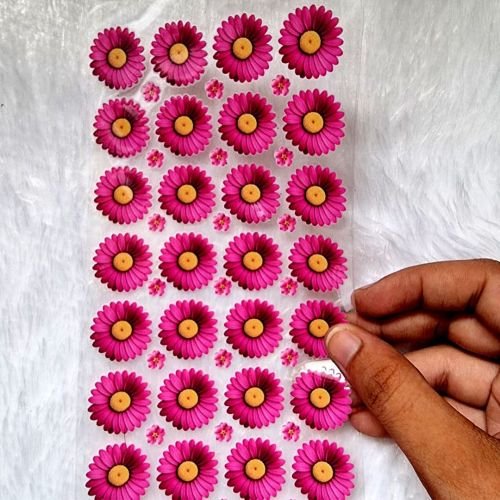
Daisy Dark Pink Flowers UV DTF Sticker Sheet
| Quantity | Price |
|---|---|
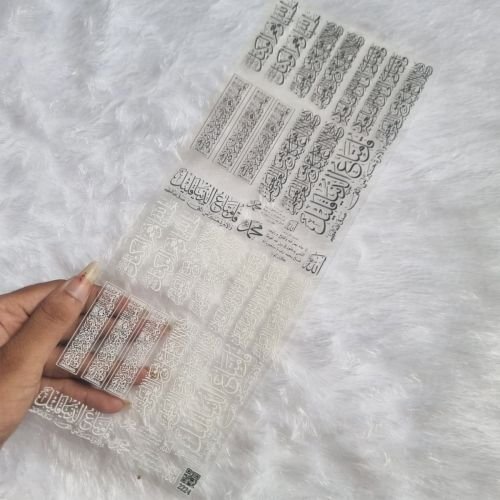
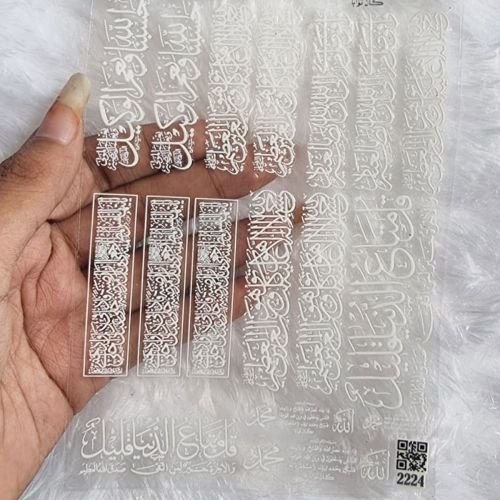
Premium Islamic Quotes UV DTF Decals For Resin Art
| Quantity | Price |
|---|---|
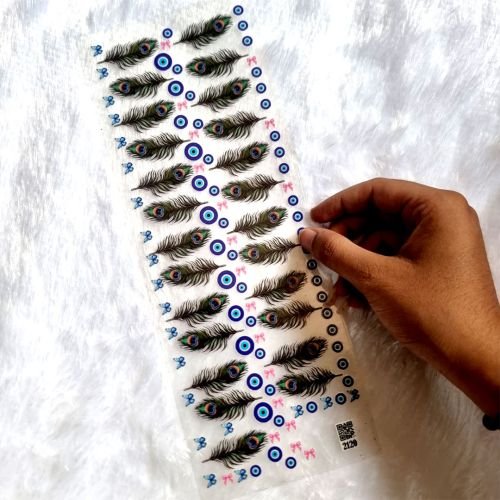
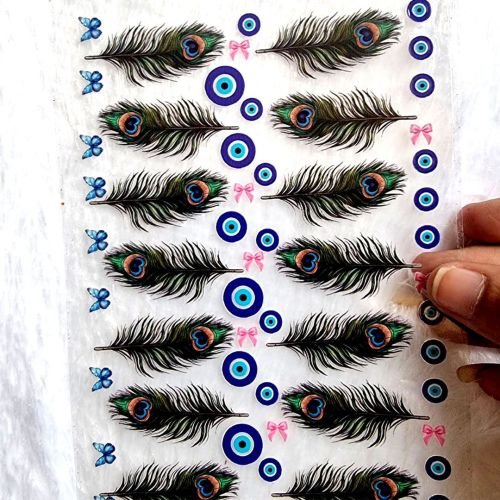
Peacock Feather UV DTF Transfer Sticker Sheet
| Quantity | Price |
|---|---|
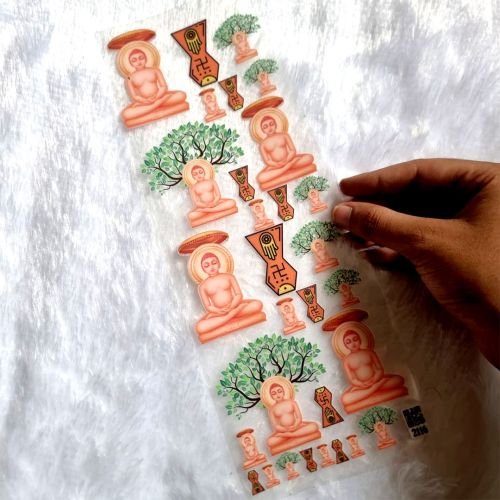
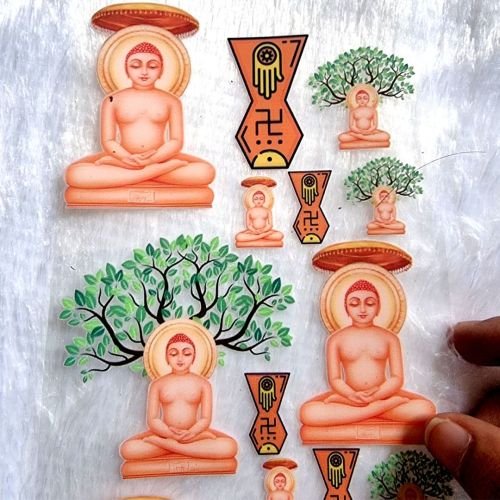
Mahavir Swami With Ashoka Tree UV DTF Stickers For Resin Art
| Quantity | Price |
|---|---|
Blog & Updates
How to Make a Resin Wall Clock: DIY Materials and Step-by-Step Guide
Quick guide: Learn how to make a resin wall clock with a suitable base, epoxy resin, pigments, numbers and clock mechanism. Step-by-step tips for beautiful DIY clocks.Focus keyword: resin wall clock. Related keywords: resin wall clock, DIY resin clock, epoxy resin clock making, resin clock materials.Plan your clock designChoose a clock diameter, color theme and layout before pouring. Decide whether you will use a prepared clock base, a compatible mold or a sealed MDF base. Make sure the clock movement shaft length suits the final thickness.Materials and toolsPrepare suitable epoxy resin and hardener, resin-compatible pigments, a level protected surface, measuring tools, nitrile gloves, eye protection, a clock movement with hands, and acrylic or metal numerals if desired. A drilled center opening or suitable insert may be required.Prepare the baseIf using MDF, seal it according to the resin manufacturer's guidance to reduce bubbles and absorption. Check that the center hole is accurately positioned and that the clock base is level. Protect any opening that must remain clear.Mix, color and pourMeasure resin and hardener according to the product-specific ratio. Mix thoroughly and divide into smaller cups for color effects. Pour within the recommended depth and working time. Create swirls or geode effects without overworking the colors.Cure and add clock partsLet the resin reach its specified full cure before installing hardware. Check the center opening and mounting clearance. Position numerals evenly, fit the movement and hands according to the mechanism instructions, and confirm the hands rotate without touching.Finish and displayInspect the back and edges for sharp areas. Choose a hanging fixture rated for the clock's weight and mount it securely. Keep finished resin pieces away from excessive heat and prolonged direct sunlight.Frequently asked questionsCan I make a resin clock on MDF?Yes, with a suitable sealed base and compatible resin system.When should I install clock hands?After the resin has fully cured and the mechanism is properly mounted.What resin is best for a wall clock?Choose a resin appropriate to the substrate, casting depth and desired finish; follow the supplier's instructions.Explore resin art materials at EPOXIANBrowse suitable resin art materials, pigments, silicone molds and accessories at EPOXIAN. Always check individual product instructions before use.Suggested blog banner (editorial brief)1200 × 600 px; headline 'DIY RESIN WALL CLOCK'; elegant finished blue and gold geode resin wall clock with Roman numerals, clock hands and a few clock-making accessories; no resin bottles.Suggested image alt text: How to Make a Resin Wall Clock materials and finished resin art examples.Editorial note: Banner artwork is a recommendation and has not been uploaded. Add the 1200 × 600 px image in the website admin before publication.

Epoxy Resin Mixing Ratio: How to Measure Resin and Hardener Correctly
Quick guide: Understand epoxy resin mixing ratios, weight vs volume measurements, common mistakes and practical tips for accurate resin and hardener mixing.Focus keyword: epoxy resin mixing ratio. Related keywords: epoxy resin mixing ratio, resin hardener ratio, how to mix epoxy resin, epoxy resin curing problems.Why the mixing ratio mattersTwo-part epoxy cures through a chemical reaction between resin and hardener. An incorrect ratio can leave the mixture soft, tacky or incompletely cured. Extra hardener is not a reliable shortcut to faster curing.Read the label firstDifferent products use different ratios, such as 1:1 or 2:1, and the ratio may be specified by volume or by weight. These measurements cannot be substituted without density information. Always follow the exact instructions for your particular resin and hardener pair.Measuring by volumeUse clearly marked measuring cups on a level surface. For a 2:1 ratio by volume, a total 90 mL batch requires 60 mL resin and 30 mL hardener. This example applies only to products explicitly specified as 2:1 by volume.Measuring by weightUse a suitable digital scale if the manufacturer provides a weight ratio. Tare the container, add the required resin mass and calculate the corresponding hardener mass using that specific product's instructions.Mix thoroughly and safelyWear appropriate chemical-resistant gloves and eye protection and work in a well-ventilated space. Stir for the specified duration, scraping the cup walls and base. Some systems recommend transferring to a second cup and mixing again. Do not mix larger batches than recommended because epoxy can generate substantial heat.Troubleshooting sticky resinReview the ratio, measuring method, mixing time, temperature and pigment loading. Incompletely cured resin can remain hazardous; avoid skin contact and follow the manufacturer’s cleanup guidance.Frequently asked questionsIs a 1:1 ratio always correct?No. Use the ratio stated for your exact product.Is 2:1 by weight the same as 2:1 by volume?Not necessarily. Resin and hardener may have different densities.Will adding more hardener make epoxy cure faster?No. It can disrupt the intended chemistry and prevent proper curing.Explore resin art materials at EPOXIANBrowse suitable resin art materials, pigments, silicone molds and accessories at EPOXIAN. Always check individual product instructions before use.Suggested blog banner (editorial brief)1200 × 600 px; headline 'EPOXY RESIN MIXING RATIO'; measuring cups, scale, mixing sticks and a clean craft workbench with clear visual 1:1 and 2:1 example graphics; no brand claims.Suggested image alt text: Epoxy Resin Mixing Ratio materials and finished resin art examples.Editorial note: Banner artwork is a recommendation and has not been uploaded. Add the 1200 × 600 px image in the website admin before publication.
Best Silicone Molds for Resin Art: Types, Uses and Buying Tips
Quick guide: Find the best silicone molds for resin art, from coasters and jewelry to trays and clocks. Learn how to choose, clean and care for your molds.Focus keyword: silicone molds for resin art. Related keywords: silicone molds for resin art, resin coaster molds, resin jewelry molds, epoxy resin molds.What makes a good resin mold?A good mold has a smooth cavity, consistent thickness and a shape suited to your project. Confirm that the silicone is compatible with your resin and the heat generated during curing.Popular mold typesCoaster molds are ideal for beginner pours. Jewelry molds support small pendants and charms. Tray molds create decorative organizers. Keychain and alphabet molds suit personalized gifts. Clock molds require extra planning for thickness and clock mechanism placement.Choose by size and casting depthCheck the mold's internal dimensions and maximum casting depth, not just its external dimensions. Deep castings may need a specially formulated deep-pour resin; pouring ordinary coating resin too thick can overheat or cure poorly.Glossy versus matte finishA smooth glossy mold cavity usually gives a glossier cast surface, while textured or matte silicone transfers its texture to the piece. Inspect photos of the actual cavity before purchasing.How to prepare and demoldClean and fully dry the mold. Set it on a level support, especially for large flexible shapes. Wait until the resin reaches the manufacturer's demold stage; gently peel the silicone away rather than pulling hard on delicate pieces.Care and storageWash as directed by the mold maker using gentle cleaning methods. Avoid abrasive tools, sharp edges and excessive heat. Store flat, clean and away from direct sunlight. A damaged or distorted mold can affect subsequent casts.Frequently asked questionsCan I use any silicone mold with epoxy resin?Not necessarily. Check mold compatibility, temperature tolerance and intended use.Why are my resin pieces dull?The mold cavity may be matte, scratched or contaminated; resin formulation and curing also matter.Do silicone molds last forever?No. Their lifespan depends on material quality, resin chemistry, use and cleaning.Explore resin art materials at EPOXIANBrowse suitable resin art materials, pigments, silicone molds and accessories at EPOXIAN. Always check individual product instructions before use.Suggested blog banner (editorial brief)1200 × 600 px; headline 'SILICONE MOLDS FOR RESIN ART'; neat assortment of coaster, jewelry, tray, alphabet and clock molds alongside finished crafts; clean white background.Suggested image alt text: Best Silicone Molds for Resin Art materials and finished resin art examples.Editorial note: Banner artwork is a recommendation and has not been uploaded. Add the 1200 × 600 px image in the website admin before publication.
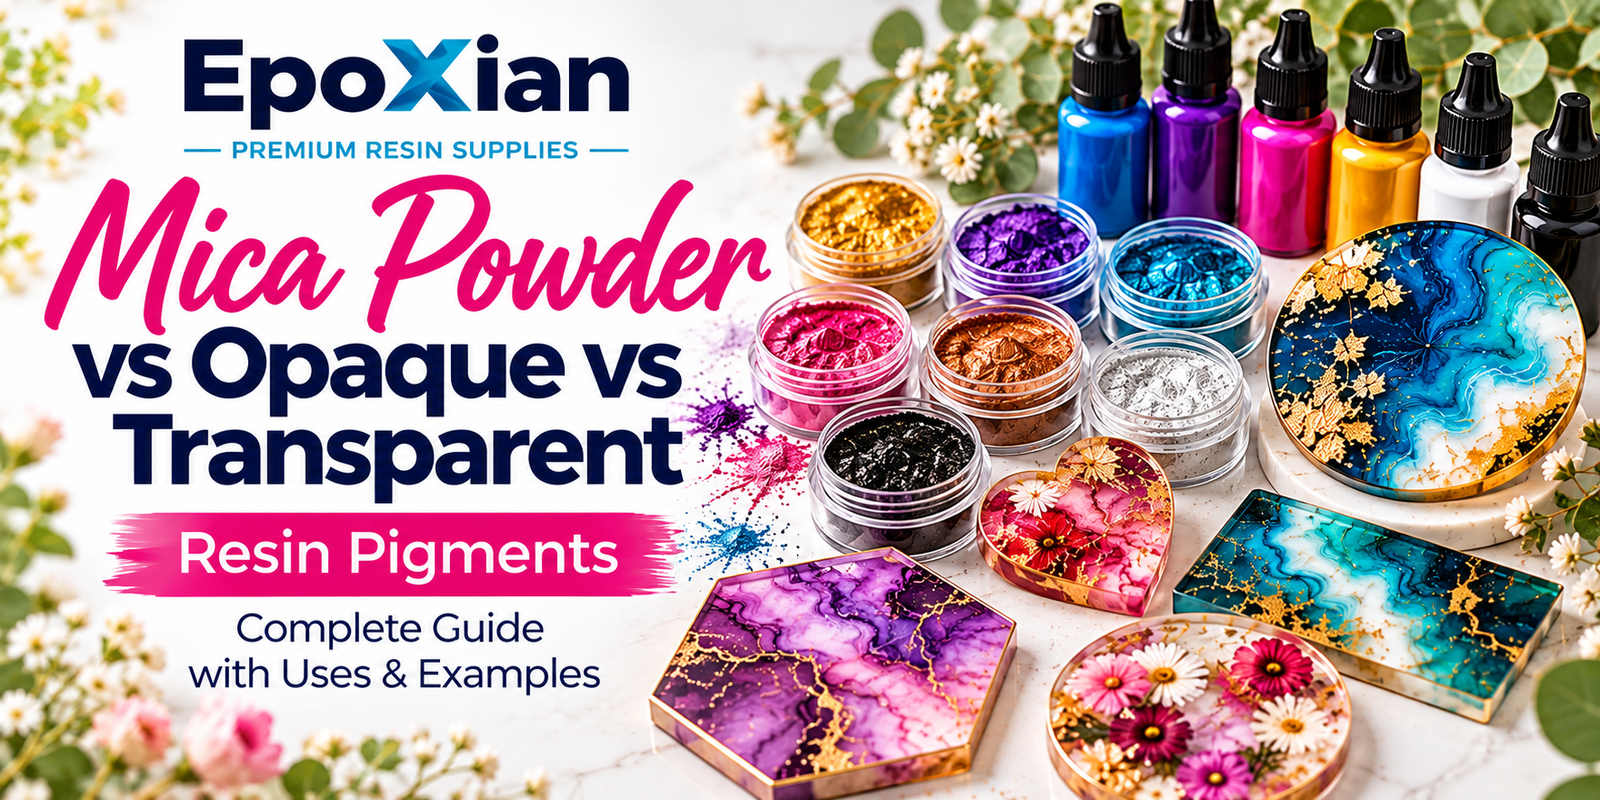
Resin Pigments Guide: Mica Powder vs Opaque vs Transparent Colors
Quick guide: Compare mica powder, opaque resin pigments and transparent colorants. Discover effects, mixing tips and the best pigments for your resin art projects. Focus keyword: resin pigments. Related keywords: resin pigments, mica powder for resin, opaque resin pigment, transparent resin colors. Why pigment choice matters Pigment type changes opacity, shimmer, depth and the visibility of embedded decorations. Choose a resin-compatible colorant rather than assuming every paint, dye or powder will work. Mica powder: pearlescent shimmer Mica powder adds sparkle and movement. It suits geode art, decorative trays, jewelry and metallic-looking swirls. Powder can settle or clump, so disperse it gradually and mix thoroughly. Opaque pigments: solid coverage Opaque pigments block light and create bold solid colors. They work well for statement coasters, trays, clock faces and contrasting pours. Excessive pigment can interfere with curing, so use the supplier's recommended dosage. Transparent colorants: glass-like depth Transparent resin-compatible dyes tint the resin while preserving some visibility through the casting. They are useful for translucent jewelry, layered art and stained-glass effects. Test each colorant for compatibility and color stability. How to choose Use mica for shimmer, opaque pigments for saturated coverage and transparent dyes for depth. Combine types only after testing small batches. Keep notes on resin brand, pigment amount and finished result. Mixing and safety tips Start with a small amount of pigment and increase gradually. Mix in a separate cup if needed for even dispersion. Avoid inhaling powders; follow the pigment safety sheet. Some pigments fade under UV exposure, so protect finished work from prolonged sunlight. Frequently asked questions Can mica powder make resin opaque? At higher concentrations it can reduce transparency, but the finish depends on the powder and resin. Can I use acrylic paint in epoxy resin? Water-based paints may cause compatibility or curing problems. Prefer resin-compatible colorants and test first. Which pigment is best for ocean art? Transparent blues can create depth, while opaque white and mica can create contrasting wave effects. Explore resin art materials at EPOXIAN Browse suitable resin art materials, pigments, silicone molds and accessories at EPOXIAN. Always check individual product instructions before use. Suggested blog banner (editorial brief) 1200 × 600 px; headline 'RESIN PIGMENTS GUIDE'; three beautiful color samples labeled MICA, OPAQUE, TRANSPARENT; bright studio background, no bottles. Suggested image alt text: Resin Pigments Guide materials and finished resin art examples. Editorial note: Banner artwork is a recommendation and has not been uploaded. Add the 1200 × 600 px image in the website admin before publication.
Frequently Asked Questions
Quick answers to common questions about custom resin art, ordering, shipping, and customization options.